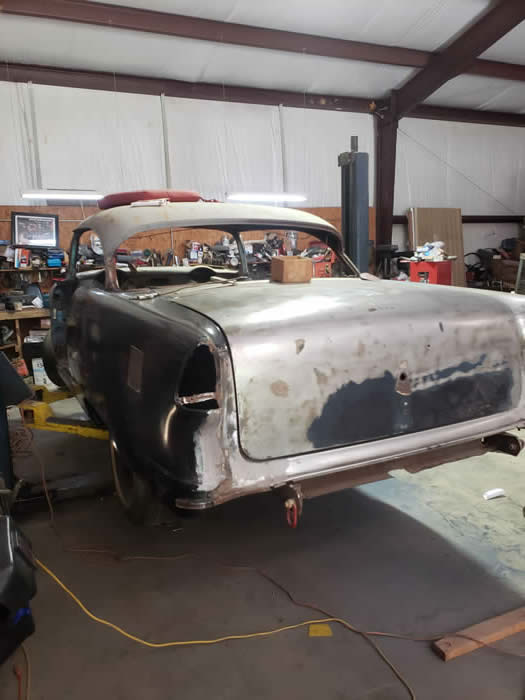
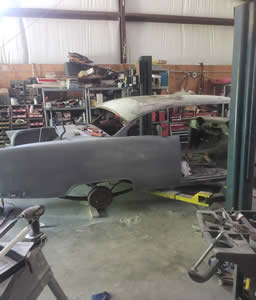
1955 Chevrolet 2 door hardtop project
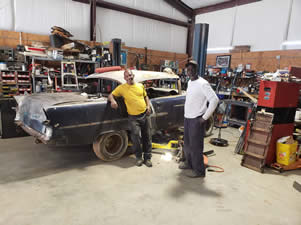
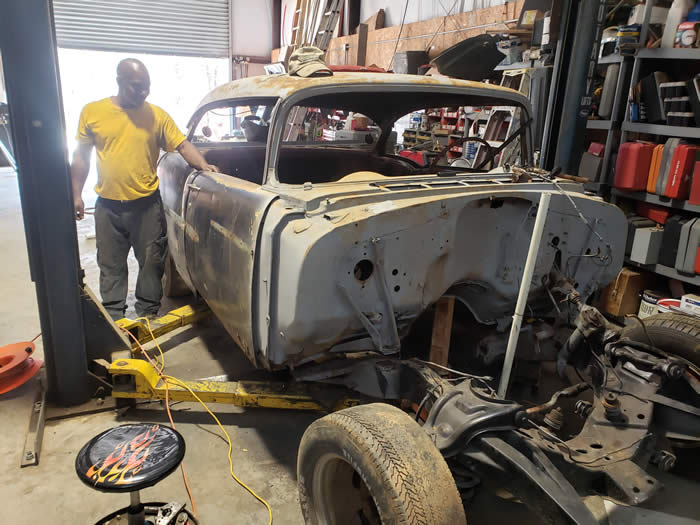
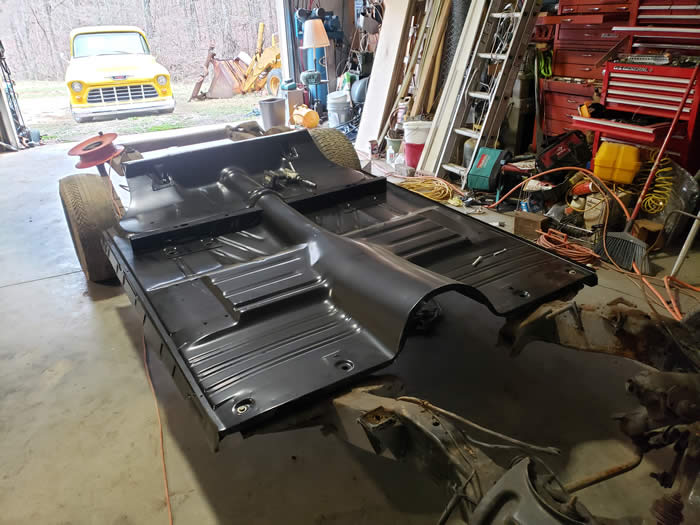
I recently acquired this 55. When I drove in with it on a trailer my wife asked “How much did I get to haul it off ". I look at it as a challenge, something to occupy my time in my old age. My son called it my “Flintstone car” because most of the floor pan is rusted away. I have already started to remedy that by installing a new floor. It will be a long process and I will post pictures as I go. If you want to help, volunteers are welcomed.
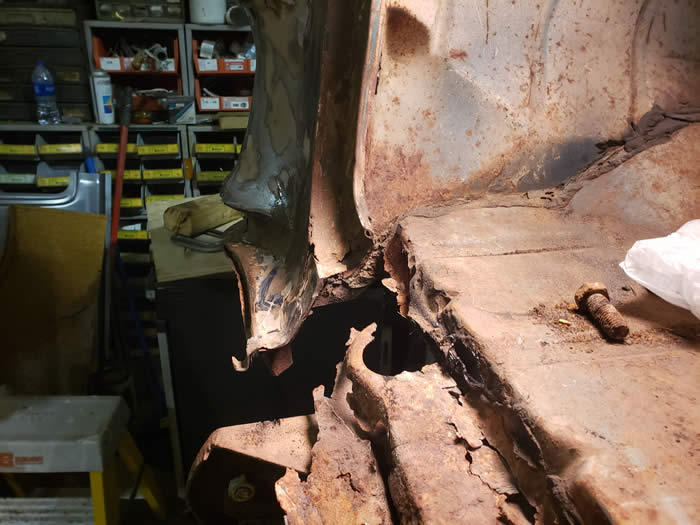
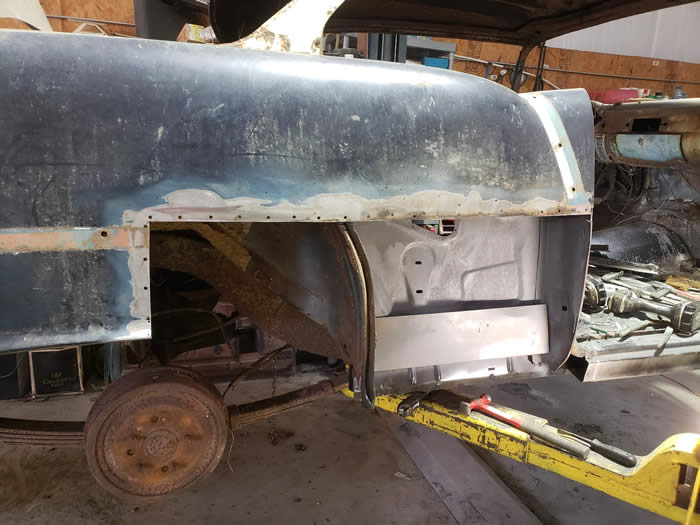
The right rear quarter had rust at the beginning of the wheel well. The bottom of the inside fender was rusted away and repaired while it could be easily accessed It has been fitted and plug welded in place
I plan to replace the full left quarter panel next. It had to be shipped truck freight because of it's size and delivery is scheduled for tomorrow. I have found Jeggs will match prices and give fast service.
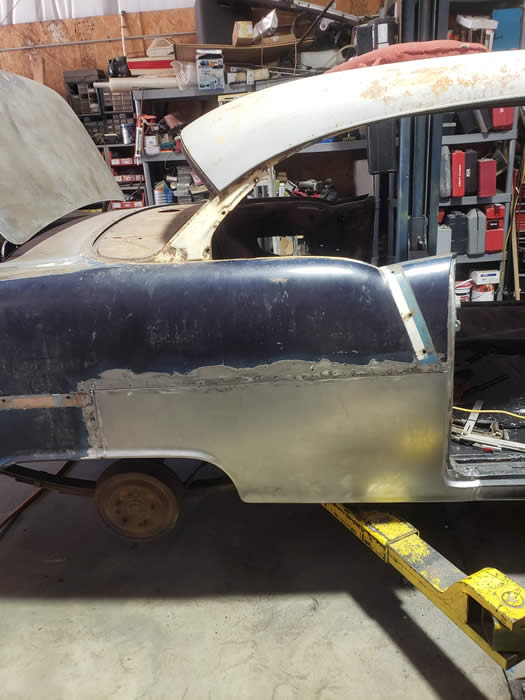

The new left rear quarter is in place and welded in.
We now have new metal all around except the rear half of the right quarter panel and trunk deck. The full floor has been replaced save part of the trunk floor. I am replacing the spare tire well when it arrives, hopefully today along with skins and bottom patch panels for both doors.
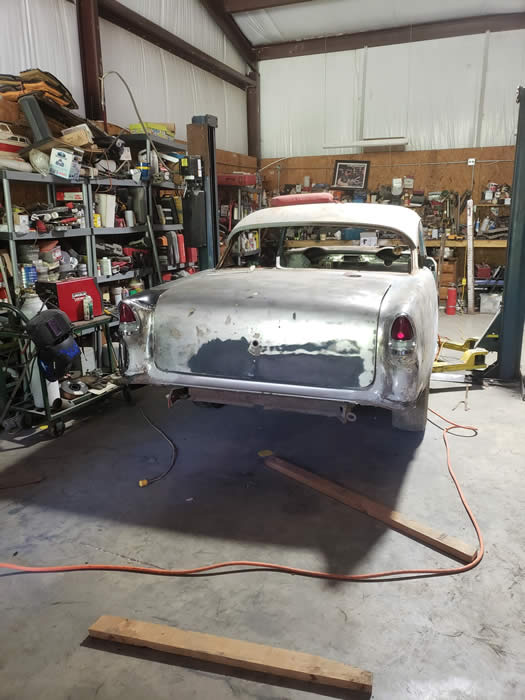
Right - With the new quarter panel installed and work on the left quarter as well I have installed the tail lights temporally. A small bit of body filler may be necessary to insure a perfect fit.
Left- The bottom of the passenger side door was rotted away. I have installed a patch panel from Golden Star to replace it. The drivers door will also require a new bottom.
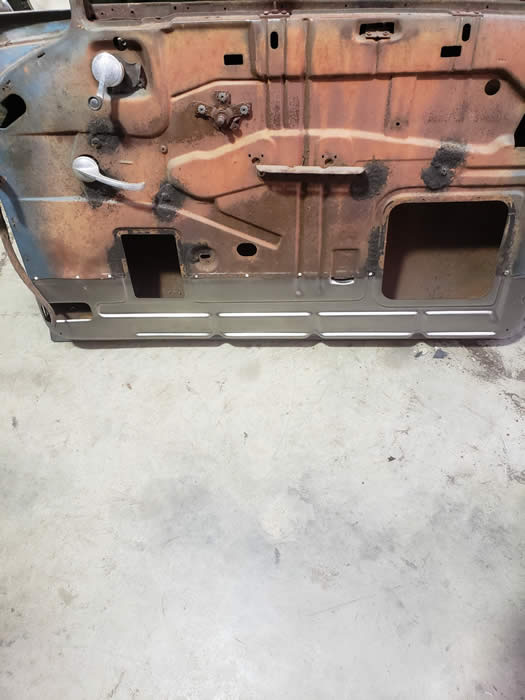
Across the bottom of both doors show evidence of metal cancer and I have new skins. The decision to make is how much of the skin to replace. Should I only cut out the bad metal or replace the entire skin?
Right Picture is Right quarter panel with primer- next will be blocking

On the left is-
Right quarter panel filled and getting ready for primmer and blocking
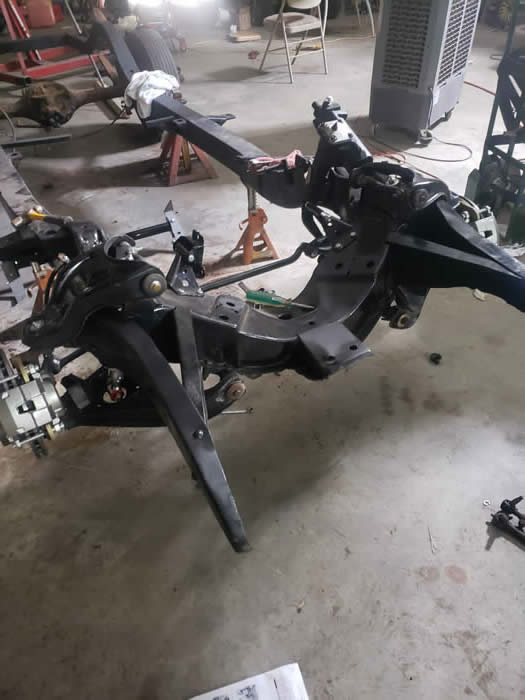
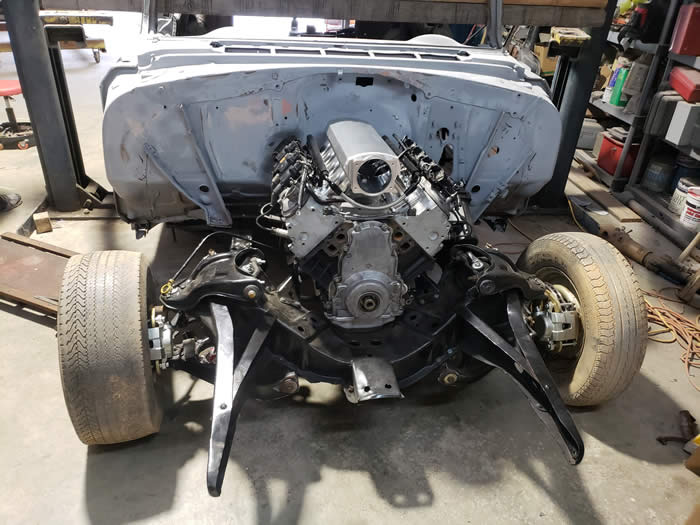
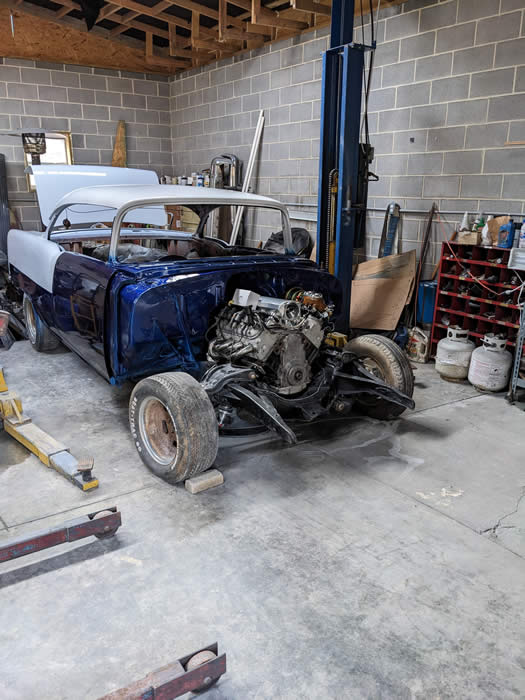
Right - Frame with Disk Brake Conversion and Coil over adjustable ride shocks.
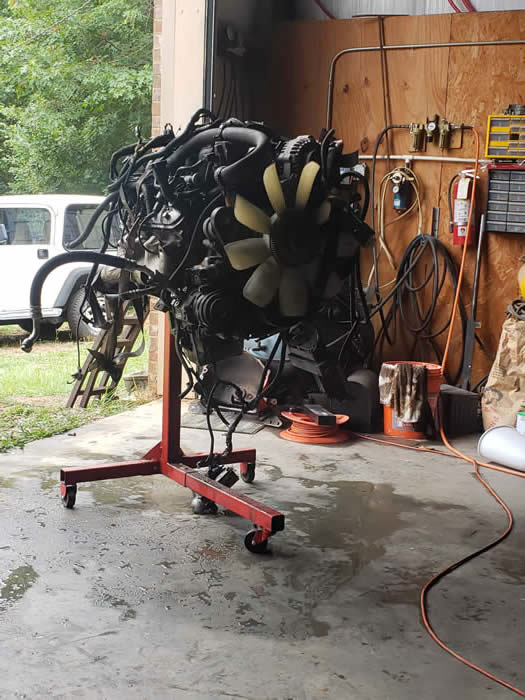
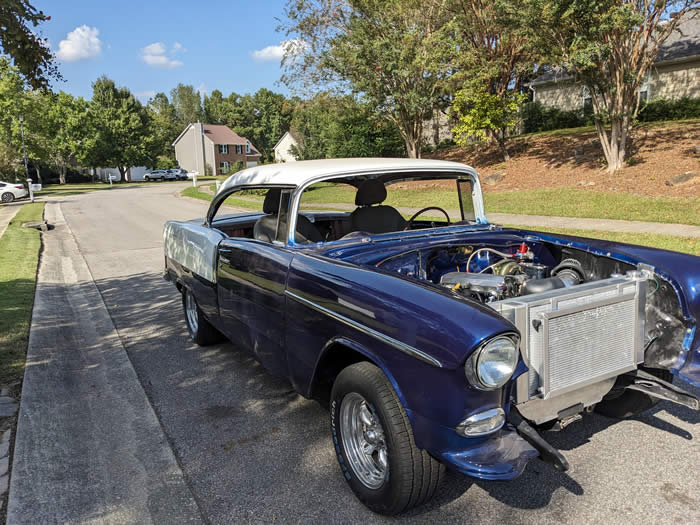
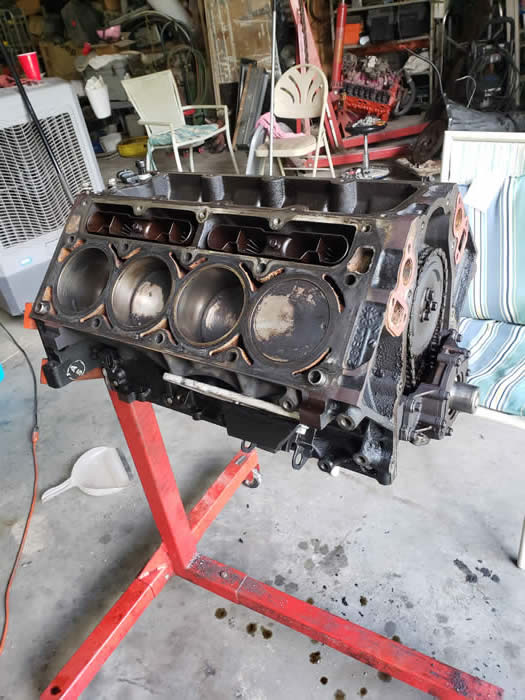
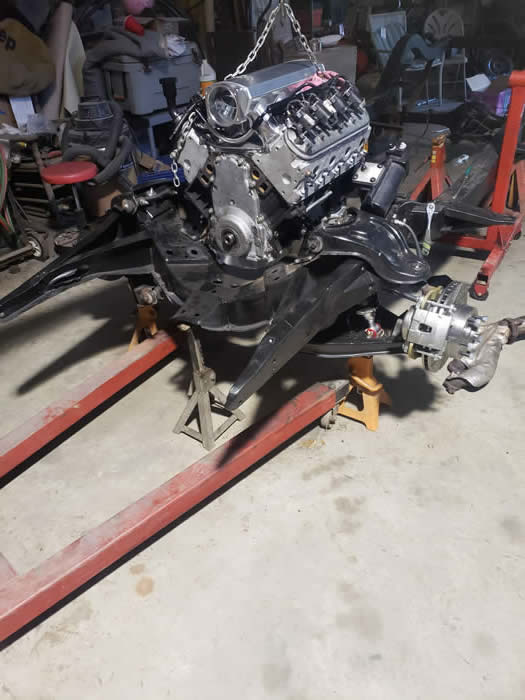
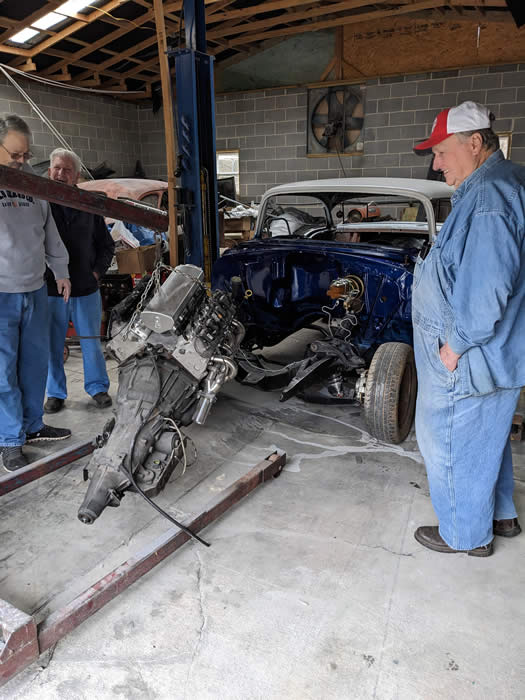
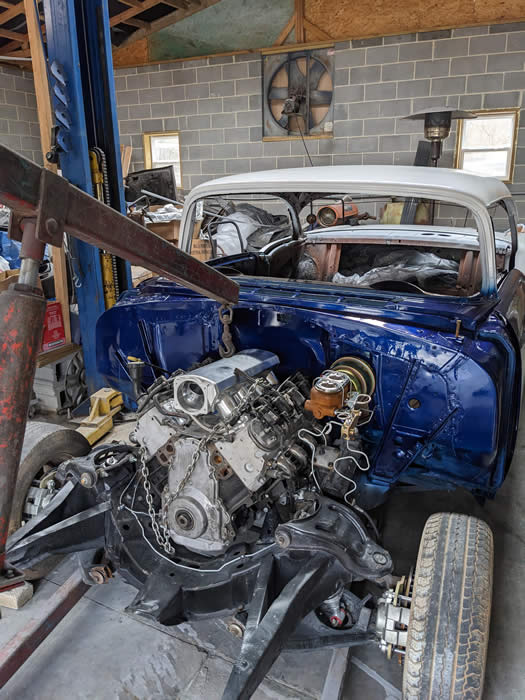
I am planning to install this 5.3 LS Chevrolet Tahoe engine in the 55 with a Jasper rebuilt 4l60E 4 speed automatic transmission. The bottom of the engine looks good so I am rebuilding the heads.
Plans are to install a Holley 302-1 Oil pan to clear the steering and to relocate the air conditioning compressor with a S-Drive pulley system from Eddie motors ports. Since this engine came from a Tahoe with the 4L60E I will reuse the harness and wire the car with a Painless or American Auto wire wiring harness. CPP has a couple of options for headers and we will decide on that later.
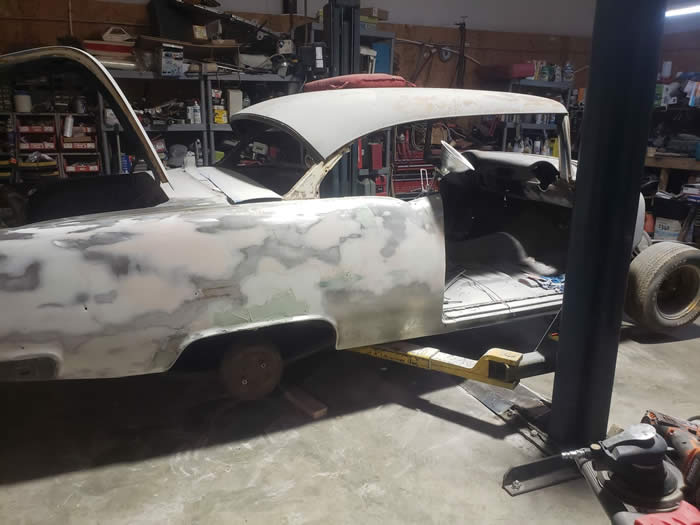

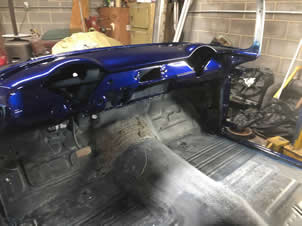
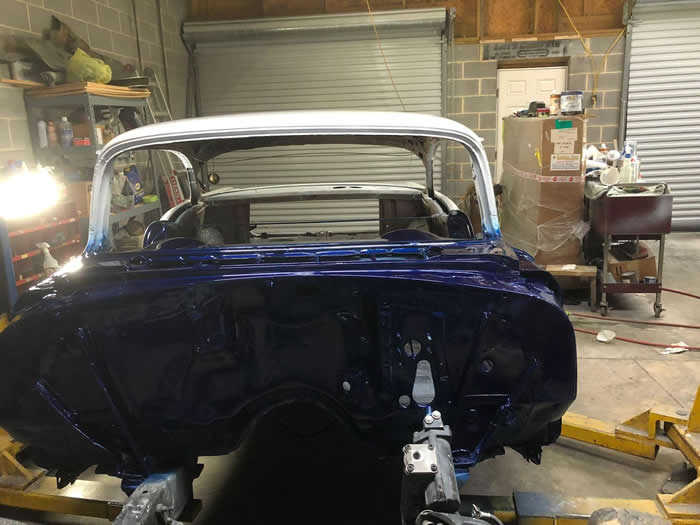
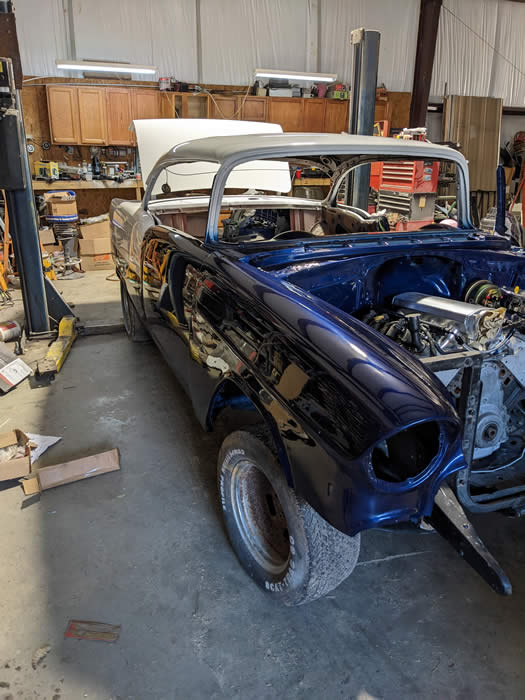
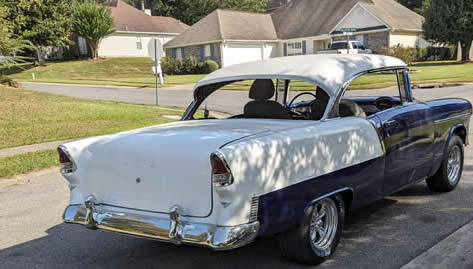
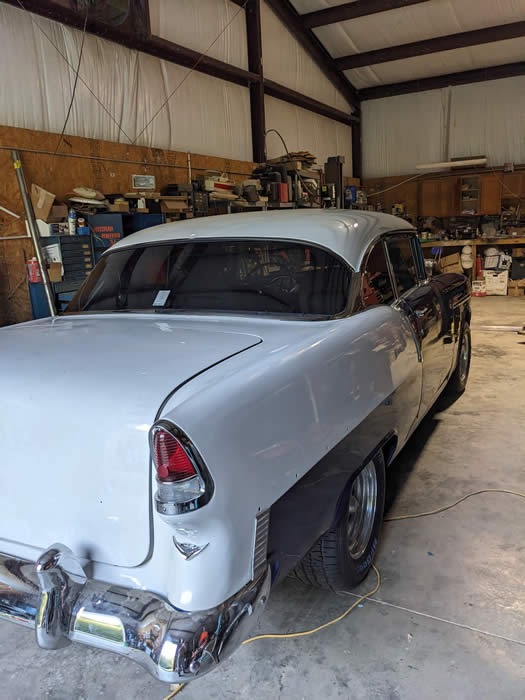
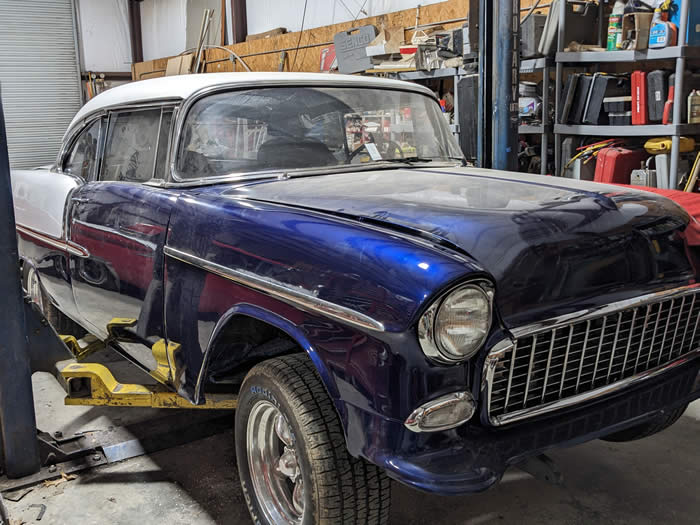
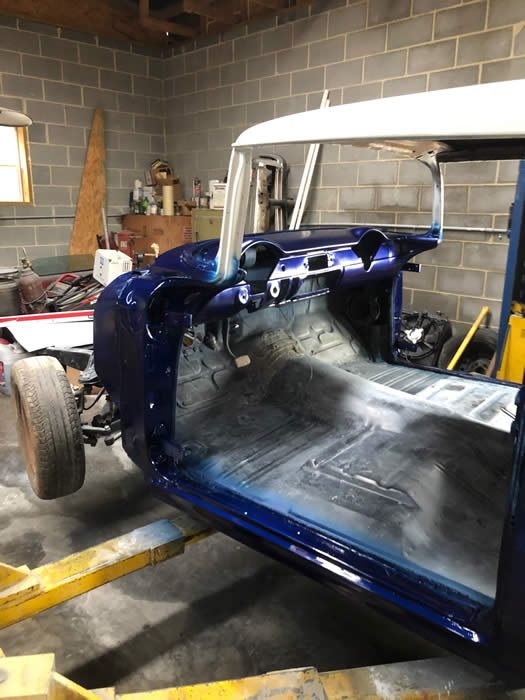
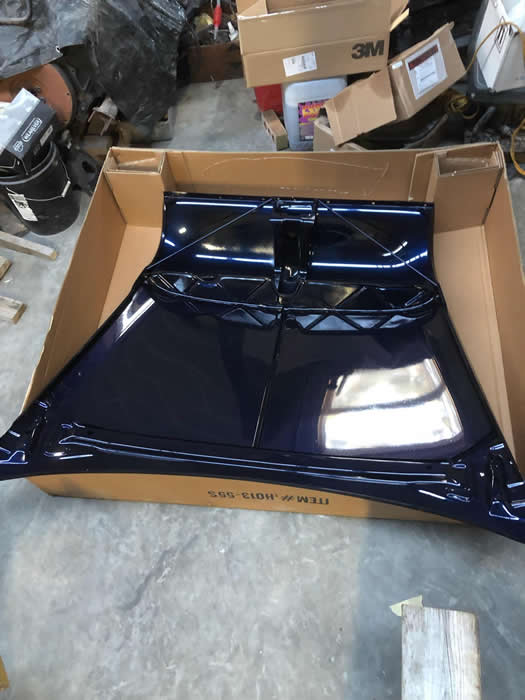
As you can see the car is now in the paint shop and the painter is re-doing much of my labors. He is very particular and that is a good thing. You won't find many dents in the exterior metal, most is new. The original paint color was Glacier Blue and Shoreline Beige and I decided to darken the blue and add a small amount of pearl to the white just to be different.
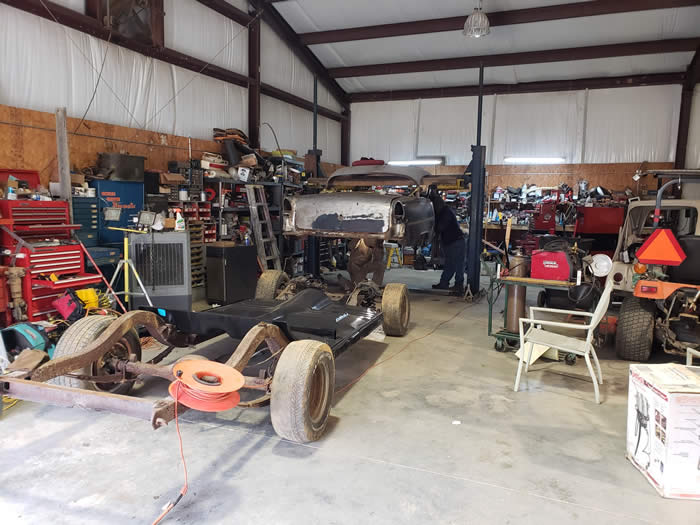
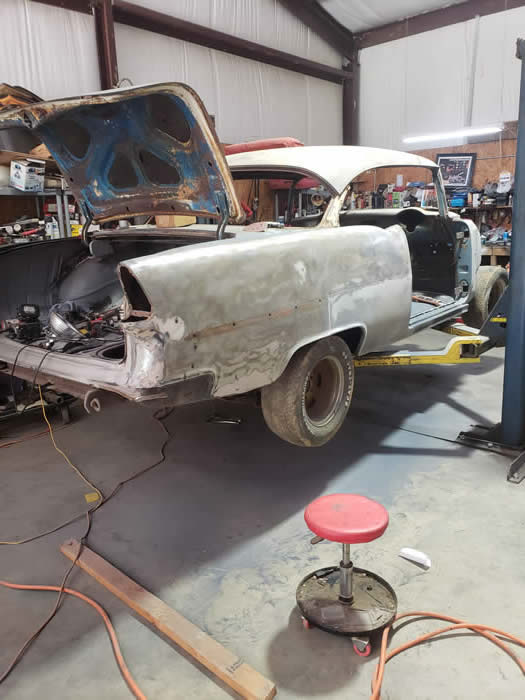
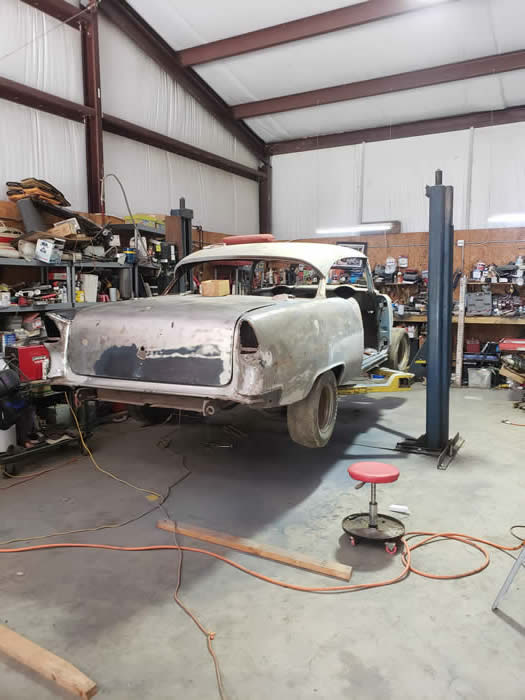
If you have followed the project pictures you should have seen this was a discarded rust bucket, most likely a downer car someone used for parts. Both rocker panels were cut out and most of the floor removed. The previous owner had tried to replace part of one quarter panel and failed. It was a real mess. I bought it only because the hardtops are so hard to find in my area. Many hours of labor later she is turning out to be a very nice car again.
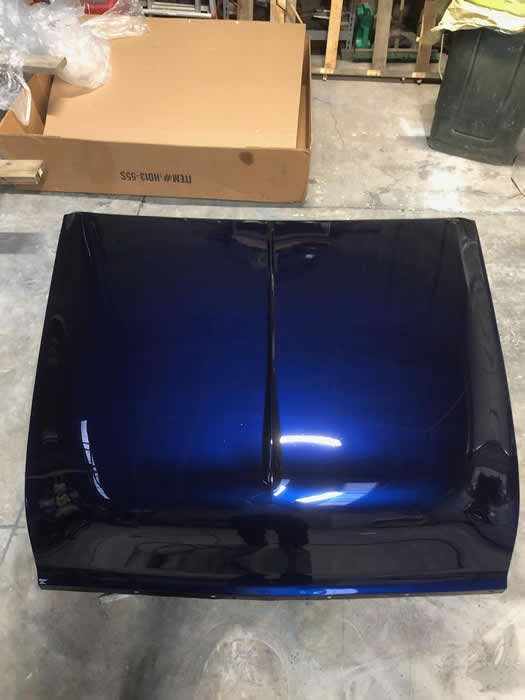
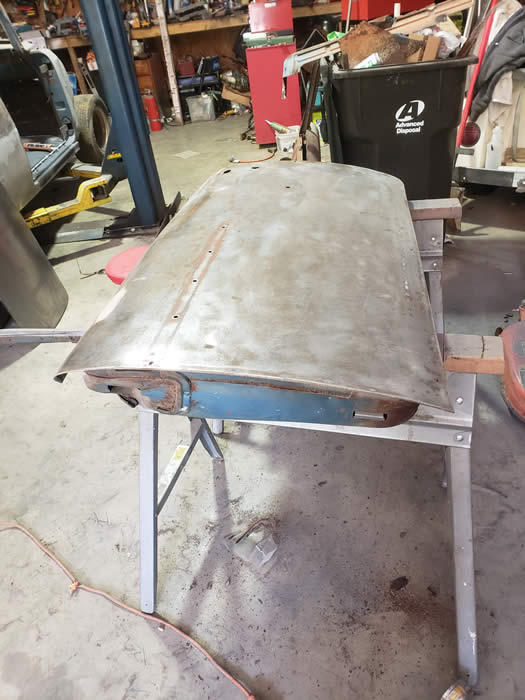
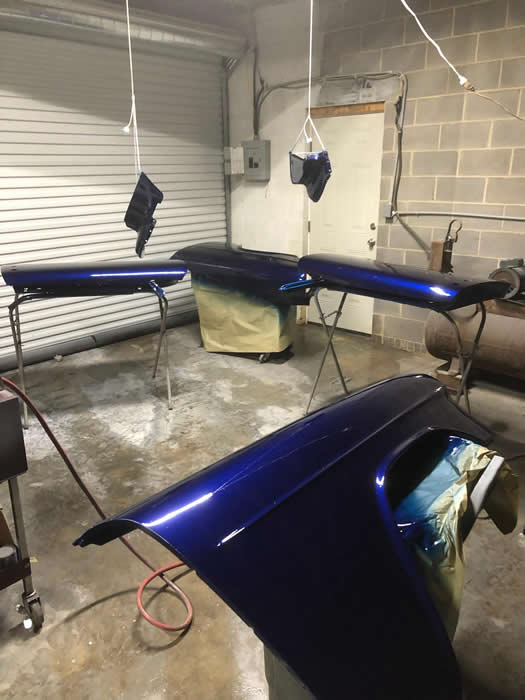
I choose to remove the platform for the bird from the hood and leave it plain. I don't think the bird added much and I lick the smooth look with it removed.
GM 5.3L V8 Vortex LMF Engine
The LMF is an engine produced by General Motors for full-size vans and pickup trucks. Displacing 5.3 liters in a V8 configuration, the engine is part of the Vortec (Generation IV Small Block) engine family with 325 ci producing 310 horsepower @5200 rpm. The upgrades in this engine allow somewhat more
RIGHT
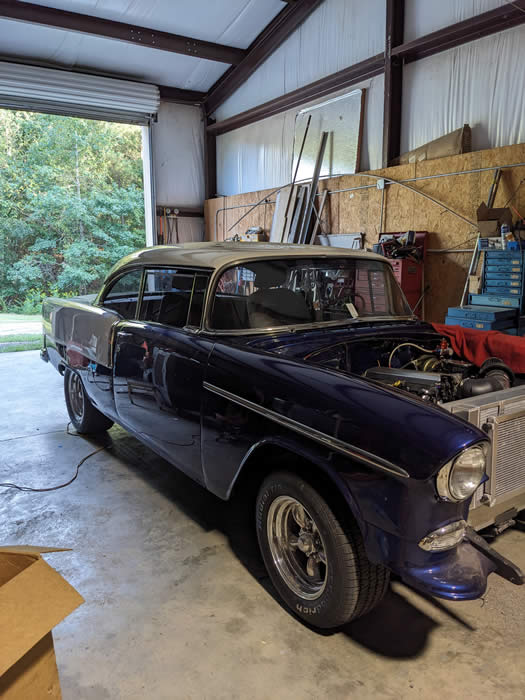
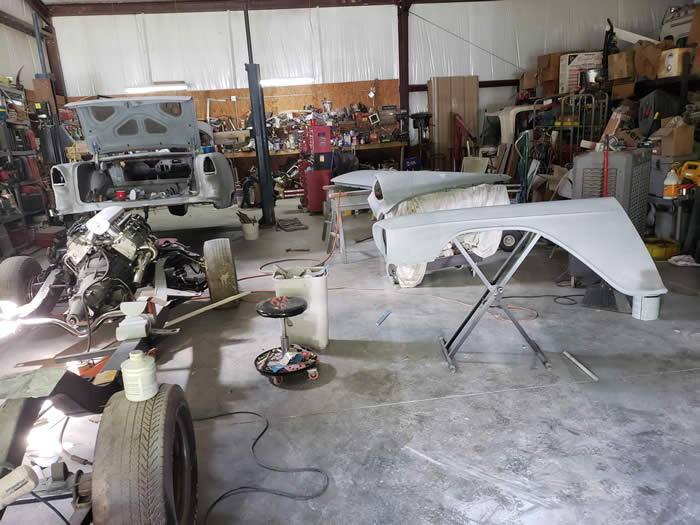
Now that the engine is installed I am fitting the front fenders in place using all new bolts and hardware.